


Step 1: Choose Your T-Shirt
Start by selecting the product that best suits your design.
Consider:
- Regular or oversized fit
- Available colours
- Fabric and weight
- Print area
- Intended use
- Required quantity
A regular-fit T-shirt is ideal for clean and minimal designs. An oversized T-shirt provides more space for large artwork and expressive streetwear graphics.
Step 2: Select the Right Colour
The T-shirt colour should complement your artwork.
Light artwork usually appears more clearly on dark garments, while dark designs stand out on light colours. If your design includes several colours, choose a neutral garment such as black, white, beige or grey.
Check the preview carefully because colours can look different depending on the background.
Step 3: Prepare Your Artwork
For the best print quality, upload a clear, high-resolution image.
Recommended practices include:
- Use PNG for transparent backgrounds.
- Avoid screenshots and compressed images.
- Remove unwanted backgrounds before uploading.
- Use high-contrast artwork.
- Check spelling before submission.
- Avoid extremely small details that may not print clearly.
A low-resolution file may look acceptable on a phone but appear blurred when enlarged for printing.
Step 4: Upload Your Image
Open the customization studio and choose the side you want to edit. Depending on the product, placement options may include:
- Front
- Back
- Left sleeve
- Right sleeve
Upload your image and wait for it to appear in the preview area.
Step 5: Adjust the Size and Position
Resize your artwork so it sits comfortably within the available print area. Leave enough space around the design and avoid placing important elements too close to the edges.
Consider how the design will look when the T-shirt is being worn—not just when it is displayed flat.
Step 6: Add Custom Text
You can add a name, quote, date or personal message to make the product more meaningful.
Keep custom text:
- Short and readable
- Free from spelling mistakes
- High in contrast
- Appropriately sized
- Aligned with the main artwork
Avoid using too many fonts in one design. One or two complementary typefaces are usually enough.
Step 7: Review Every Print Side
Before adding the product to your cart, review every side you edited.
Confirm:
- Correct image
- Correct text and spelling
- Proper design placement
- Selected colour and size
- Required quantity
- Intended print sides
- Final customization price
Extra print placements may increase the final product price, so review the complete total before ordering.
Step 8: Add the Design to Your Cart
Once you are satisfied with the preview, approve the design and add the customized product to your cart.
Review the cart details once more before completing checkout.
Custom T-Shirt Design Ideas
If you need inspiration, consider:
- Birthday T-shirts
- Couple designs
- Best-friend T-shirts
- College society merchandise
- Team and event T-shirts
- Travel group designs
- Personal artwork
- Minimal typography
- Inside jokes
- Business merchandise
- Artist collaboration designs
Tags:
Related articles
-
Aug 07 2026
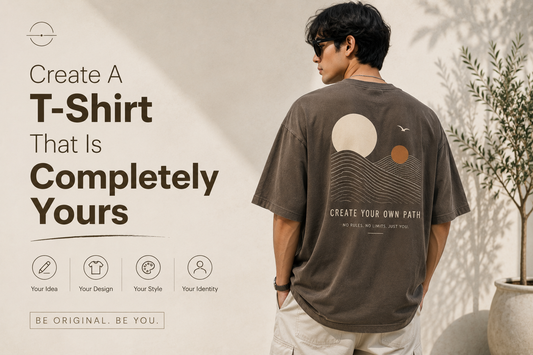
Create a T-Shirt That Is Completely Yours
-
Aug 07 2026
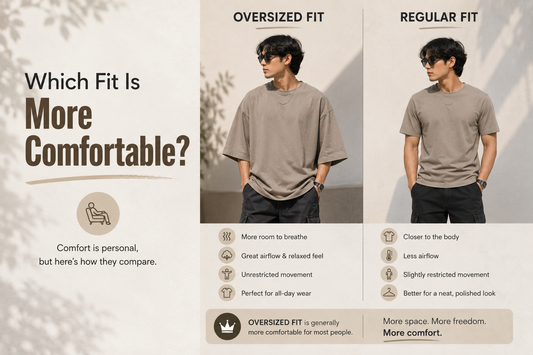
Which Fit Is More Comfortable?
-
Aug 07 2026
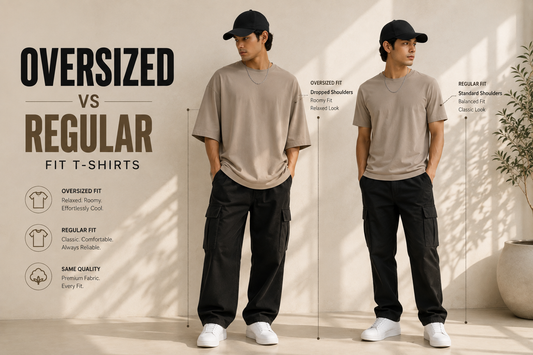
Oversized vs Regular Fit T-Shirts
-
Aug 07 2026
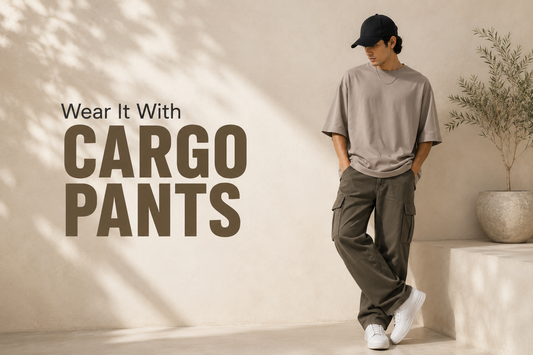
Wear It With Cargo Pants
-
Aug 07 2026
Pair It With Straight-Fit Jeans
-
Aug 06 2026